
After digging a couple of holes, we made some concrete. I got the no-mix stuff, since I recalled what happened last time I tried to mix in a 5 gallon pale. We put in all the concrete that I had, but we ended up going to the store for another few bags.

I ended up using a total of 400 lbs of concrete. 300 on the 4x4, and 50 each on the 2x4 braces I think. The braces are attached to the pole with 8" long 5/8" diameter lag screws. The pole feels pretty solid now.

The other main project was the wall extension. At first I just tried to brute force it off. I lost. Thankfully Greg lent me his nail remover. I have one, but it is a master mechanic and doesn't work worth a damn. His was a nice Estwing, and was sharp enough (and designed properly) so that with a few taps of a hammer, you can bury it in beneath the nail head to get nails out.

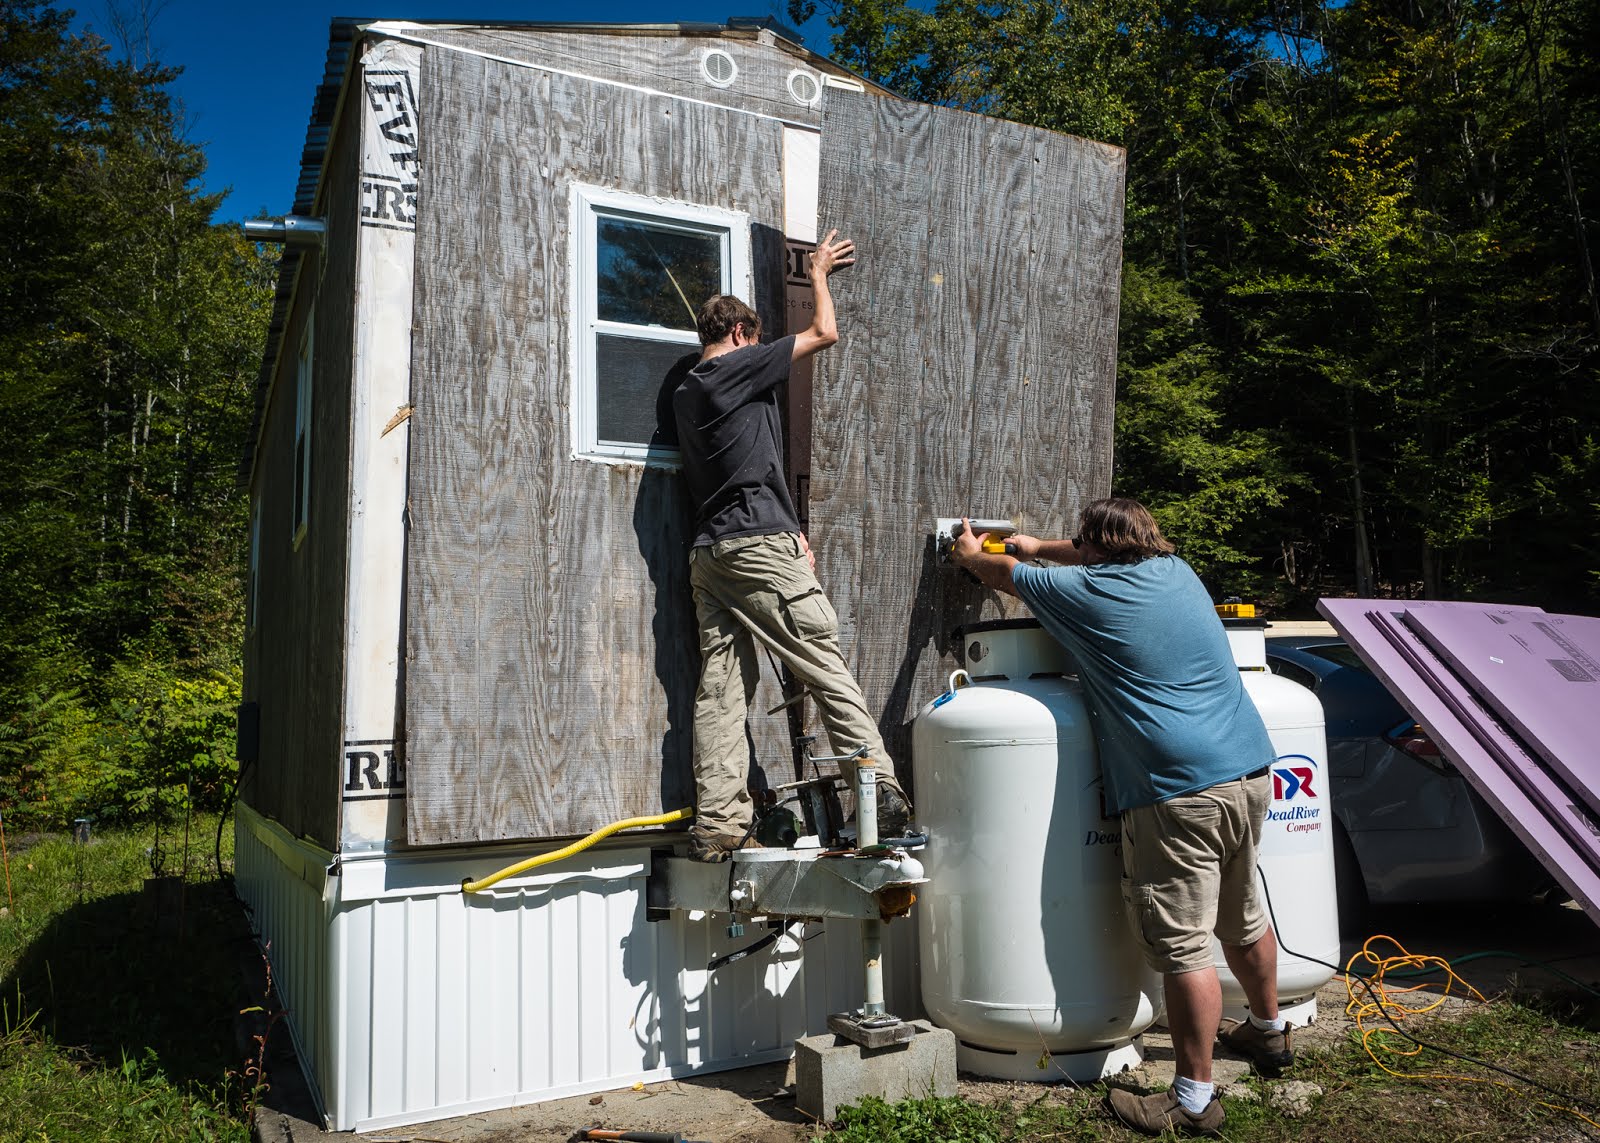
Some surely OSHA approved techniques were used as well. My foot is perfectly safe to use as a base for a step ladder at an angle far beyond what it was designed to be used at... But while I was able to move the tanks a few inches, I would not have been able to move them out of the way. They are heavy and I didn't want to disturb the gas lines if I could help it.

Even with that, some extreme measures were required. Like cutting chunks of it off to make it more manageable. I am sure this was completely OSHA approved as well
Once that was done, the brute force was sufficient.

More OSHA approved work was required to peel off the housewrap. I was disappointed to see that there was a little mold on it, but everything was trapped last winter because of the way that I just hung more insulation on the wall.

We finally got the housewrap off too though. Pay no attention to the upper left corner of the wall... It looks like I ran out of spray foam.

You can see why the pipes froze. In one spot over by the shower, the PEX was clearly visible, meaning there was no insulation behind the pipe at all. I got lucky it didn't split any fittings. The laundry side was better because I pieced foam in behind everything, but still not as well insulated as I would have liked. I guess I am not very good at insulation around the pipe.

I then started cutting and installing supports to hang the new wall on as the Matts built the wall.

It might be time for a new chop saw. Apparently a 2x6 is too much for it now. That is smoke, not saw dust. A new blade will help, but it hasn't been the same since it went for a ride in the storms that destroyed the carport last year.

It hung on the wall quite nicely. Those tanks are really in the way.

Matt cut the insulation to fit while I cut and installed the last few supports.


It looks nicer at least.

Then came the house wrap.

We attached it to the new wall. All the seams are taped too, so everything should be water tight, since it is going to rain today. I still need to build a small piece (the wall is 8'6", and the section we installed is only 8'), but that is a minor thing I can do in the near future. I also need to finalize how I am going to do the flashing on the top, bottom, and around the window. The window I think I will just make a 1x3 frame that is siliconed in, and might do likewise for the top and just put it at an angle so everything runs off.. The bottom is more tricky since I don't want to install anything that can pool water.

It was still good progress, and theoretically with just a few staples I could technically put it through the winter, but I really really want to get the siding and everything else up before then though.
Fall is definitely here. I don't get a lot of color on my lot but I do have color coming in. I only get a few yellows which is kind of lame. This is probably the only red I get.

Peak foliage might still be a few weeks out though. Most of my lot is just beginning to change.

In addition, while we were working on the front wall, I got the burn barrel lit for the first time. It isn't a good idea to do it on the slab, but oh well. Most of the driveway isn't rock, and I didn't want to risk a fire. Here I knew it was safe. Matt's lighting method method wasn't the most safe. The diesel didn't want to light easily.

It didn't take long before we got it roaring though. Despite burning for most of the afternoon, the dent on the wood pile was disappointingly small.

Sunday I was too pooped to poop, so I didn't get much done, mostly just chores and some mowing which I hope to finish during the week. I never got the tractor apart, so it will be another round with the push mower. This will likely be the last mowing for the season though, so I will get over it..
The power pole is now complete, and the front wall is well underway. I really need to finish stuff though. I have a ton of stuff in progress, all just needing a last little nudge to finish. My weekends are starting to get rather busy though. I am headed down to KY this weekend, and then two weekends after that I have a wedding, and another wedding two weeks after that. I still have a Friendsgiving to go to and another bachelor party. And that is all before Thanksgiving. I will likely have to separate out some of these. Some, like the truck battery (and apparently brakes), must be done, but if I don't install windows in the shed, it isn't the end of the world. That can be done next year.
Propane- Smooth the yard.
- Install Drainage.
- Finish driveway repairs.
- Fix the weed whacker.
- Fix the push mower.
- Fix the generator.
- Replace the battery in the truck.
- Refurbish the utility trailer.
- Extend/insulate the front wall to prevent pipes from freezing.
Fix the power pole.- Build a lean to for equipment.
- Clean the crap out of the shed.
- Install windows in the shed.
- Install power and lights in the shed.
- Put in actual pilings for the shed.
- Extend the roof on the shed to prevent snow from pushing on the side.
- Paint the house.
- Paint the shed.
- Paint the ceiling of the house.
- Burn the pile.
- Get rid of the scrap metal.
- Bury the power cables.
- Install outside outlets at the panel.
- Setup entertainment center
- Build a real closet so I can hang clothes.
- Install curtains and shelves.
- Install trim.
- Install a table in the house.


